Cardio Machines 101 – Treadmill, Stair Mill, Elliptical and Bike – Part 1, Understanding the Operations and Controls Board.
Cardio machines can be intimidating pieces of equipment. Sure, you know how to walk, jog and run, but when you step onto a treadmill it seems much more complex than just putting one foot in front of the other. You’re confronted with a board of buttons and flashing lights that look like something you would see on a spacecraft; hit the wrong button and who knows what will happen, right?
Though they can look overwhelming, with a bit of explanation and familiarity all of those buttons and programs will come into focus. In fact, most cardio machines, be it a treadmill, stair mill, bike or elliptical, typically group their functions in similar ways. Of course, these days there are even more buttons, but that thanks to many machines offering personal entertainment systems and televisions.
So, let’s first separate the different components, displays and functions that are located on the OPERATION BOARD of cardio machines
Lighted Displays
Metrics Displays – Each machine has a display to let you know things like Time Elapsed/Remaining in your session, Calories burned and Distance. Metric displays are typically located at the top of the operation board.
Which metrics should you be most concerned with?
-That depends on your goal, but setting a time or distance goal is a good place to start. Remember, that things like “Calories burned” are just an estimate, but time and distance are absolute.
Instructions Ticker/Display – You might notice instructions scrolling across another display, or perhaps intermittently across the top display and that is where your metrics, like time and distance, are located. This is to help you do everything from starting the machine, telling you what to do if you select a “Workout Program,” which we will address later.
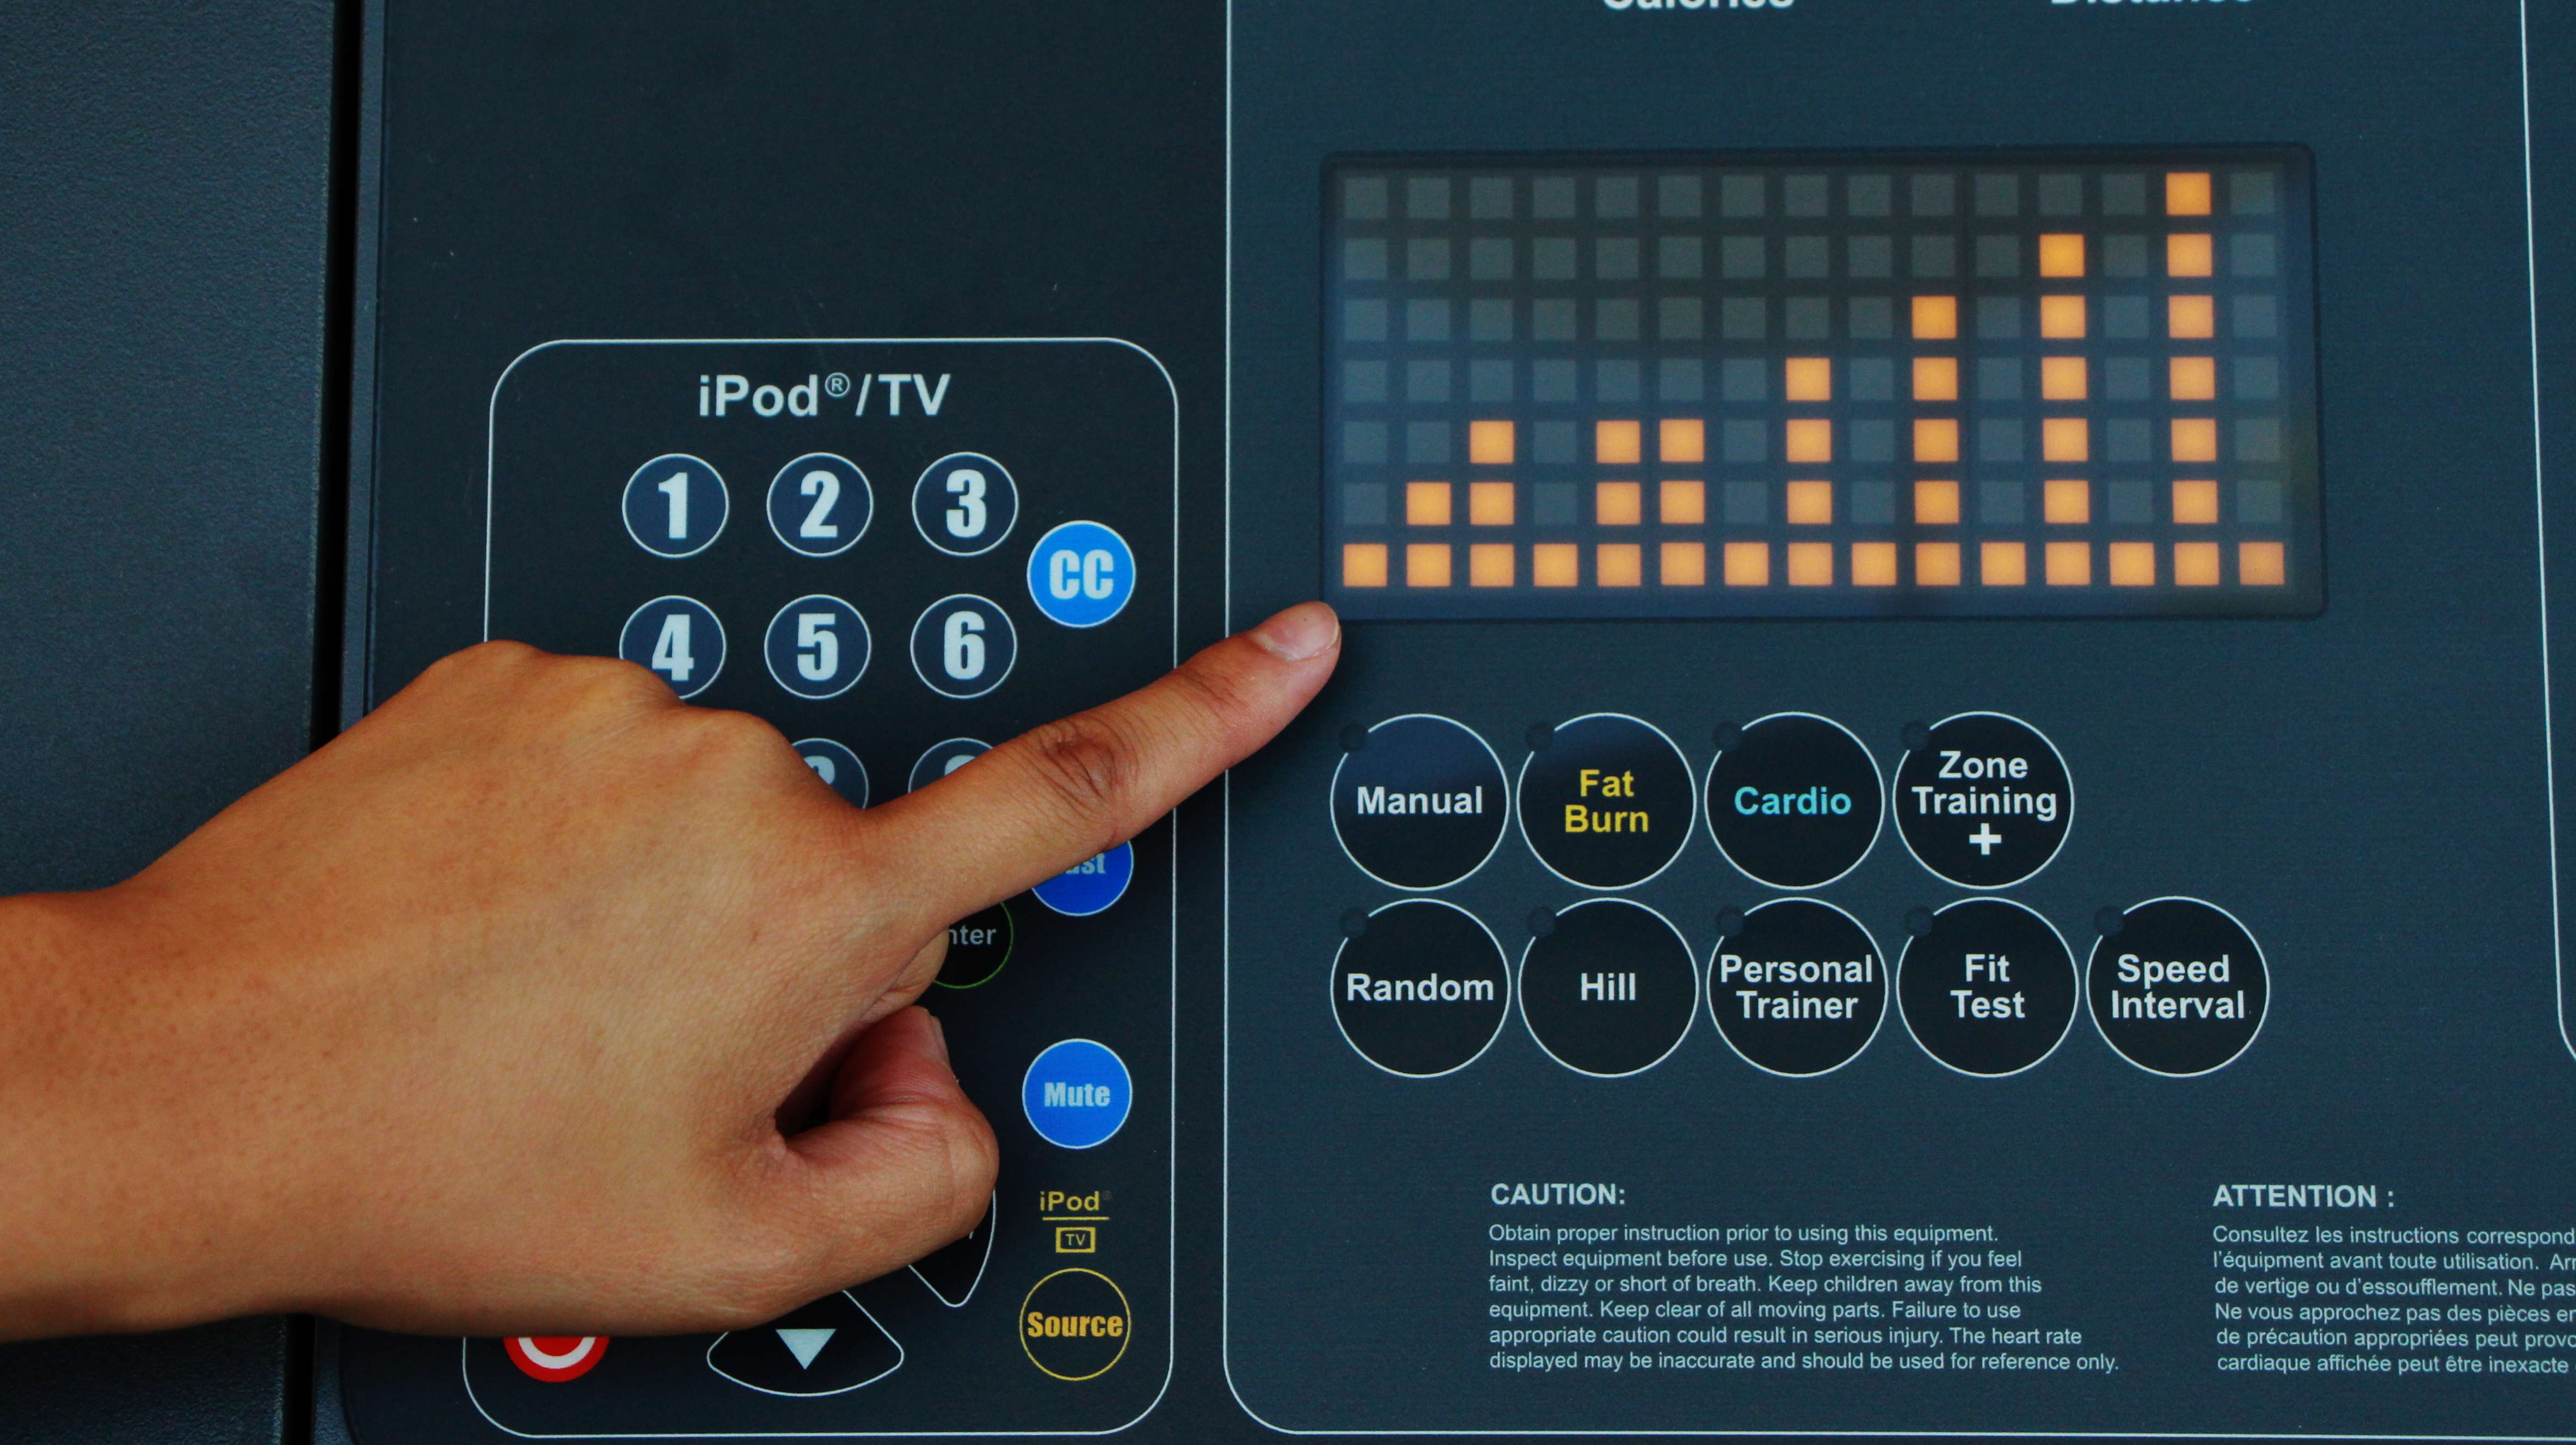
Intensity/Level Graph Display – Some cardio machines have graphs on them (typically bar graphs) that indicate the difficulty of your past, current (typically flashes or blinks) and upcoming levels. If that bar is all the way to the top of the graph, get ready to catch your breath because that is an indication of the hardest level of difficulty for that machine!
Buttons
Programs – You will see a group of buttons that are your “Program” choices. These often include, and start with, a “MANUAL” function. This function allows you to adjust the various intensity levels such as speed, elevation and resistance only when you “manually” do so. Other programs, like INTERVALS, HILLS, AEROBICS and HEART RATE, will automatically change based on your initial settings; often taking in to consideration the amount of time and initial level of difficulty you input.
Number Pad (Functional) – After selecting your program type, you will be prompted to input various information such as Time/Duration of your session, your Weight and Age and/or the Intensity/Difficulty level. There is a number pad for you to input information that corresponds to the functions of your cardio machine (make sure you are not mistaking it for the television/entertainment system number pad that may also be on your cardio machine—see more below).
–Clear and Enter are also located on your number pad. If you make a mistake with information like your duration or level setting, simply hit CLEAR. Once you have input the correct information hit ENTER.
ARROWS – UP and DOWN arrows are usually on most pieces of cardio equipment. In some cases there are two sets of arrows, one set for the SPEED and another for the RESISTANCE/DIFFICULTY, or in the case of a treadmill, the INCLINE.
COOL DOWN – Many machines offer an automatic COOL DOWN button. If you become fatigued a bit sooner than expected, hit this button and cool down properly before getting off of the machine.
QUICK START – Want to just hop on and get going? Hit the QUICK START button. This only works as a MANUAL program and will have a predetermined duration of often 20 or 30 minutes.
ENTER – Remember to hit ENTER after each selection you make.
STOP/PAUSE – Need to take a quick break, tie your shoe or drink some water? Use the STOP/PAUSE button, this will pause your machine, without losing your progress, for a few minutes. You will have to hit the ENTER, GO or RESUME button to begin again.
EMERGENCY STOP – In the case that you feel dizzy, lose your balance, suffer an injury or any other reason that you may need to stop the machine immediately use the EMERGENCY STOP feature. If you have a medical emergency, notify a member of the staff if you need assistance and seek immediate medical attention, or call 911.
Number Pad (Entertainment and Television) – We are not going to go into too much depth about the number pad and functions for the entertainment and television controls, but it is important to note that it is common to confuse the Functional number pad with this one. So, if you are trying to adjust something and nothing is happening, it might be that you using the wrong number pad. It may sound silly, but it happens.
For more great TOP TIPS be sure to come back every week and follow LIVING HEALTHY. To learn how, CLICK HERE.


