(Part 3 of Creating a Complete Chest Routine)
So you’ve mastered the basics of your chest routine, introduced new progressive exercises to build upon that foundation, and now you want to take the next step towards developing the perfect chest. Sound about right?
GREAT, it’s time to step up your game and take your chest program to the next level by combining some of what you learned in Part 1 and Part 2 with some new concepts: explosive movements and advanced stability exercises.
A complete chest progression program should include exercises that use explosive movements. By including explosive movements you will be challenging your body in a way that it has not yet adapted to, which helps your chest muscles to develop. In addition, weightlifting with explosive movements burns additional calories.
It’s also important to incorporate advanced stability exercises into your routine. You will activate your core muscles as you simultaneously train your chest muscles when you integrate advanced stability exercises. Not only does this help you work toward your perfect chest, but it also develops your abs and oblique muscles as well.
Here are 3 exercises that incorporate both explosive movements and advanced stability exercises to help you build the perfect upper body.
Stability Ball Dumbbell Chest Press
- Find a stability ball and a set of dumbbells reasonably below your normal bench press weight.
- Sit on the stability ball with your feet flat on the floor and the dumbbells on your knees.
- Begin walking your feet forward while keeping your shoulders centered on the ball. Your upper-body and thighs will begin to form a reverse, or face-up, planks. So keep your thighs and torso parallel to the floor and your abs tight.
- Keep your knees bent to about 90 degrees.
- Now your shoulder blades should be pressed-up against the ball.
- Hold the dumbbells near your chest with your palms facing upward as you would while doing chest press on a bench.
- Tighten your abdominal muscles to engage your core and stabilize your spine.
- Exhale as you press the dumbbells upward until your elbows are straight but not locked with your hands about shoulder width apart.
- Inhale and lower the dumbbells slowly until they are level with your chest.
Extra Tip: try to keep the dumbbells parallel throughout the entire exercise.
Extra Tip: Avoid the tendency to arch your back and thrust your hips upward; this is most common during the upward phase.
Extra Tip: Do not “CLANK” the weights at the top of your press; control dumbbells during the entire movement.
Extra tip: If you feel you are getting too tired to control the exercise simply stop, rest and do another set.
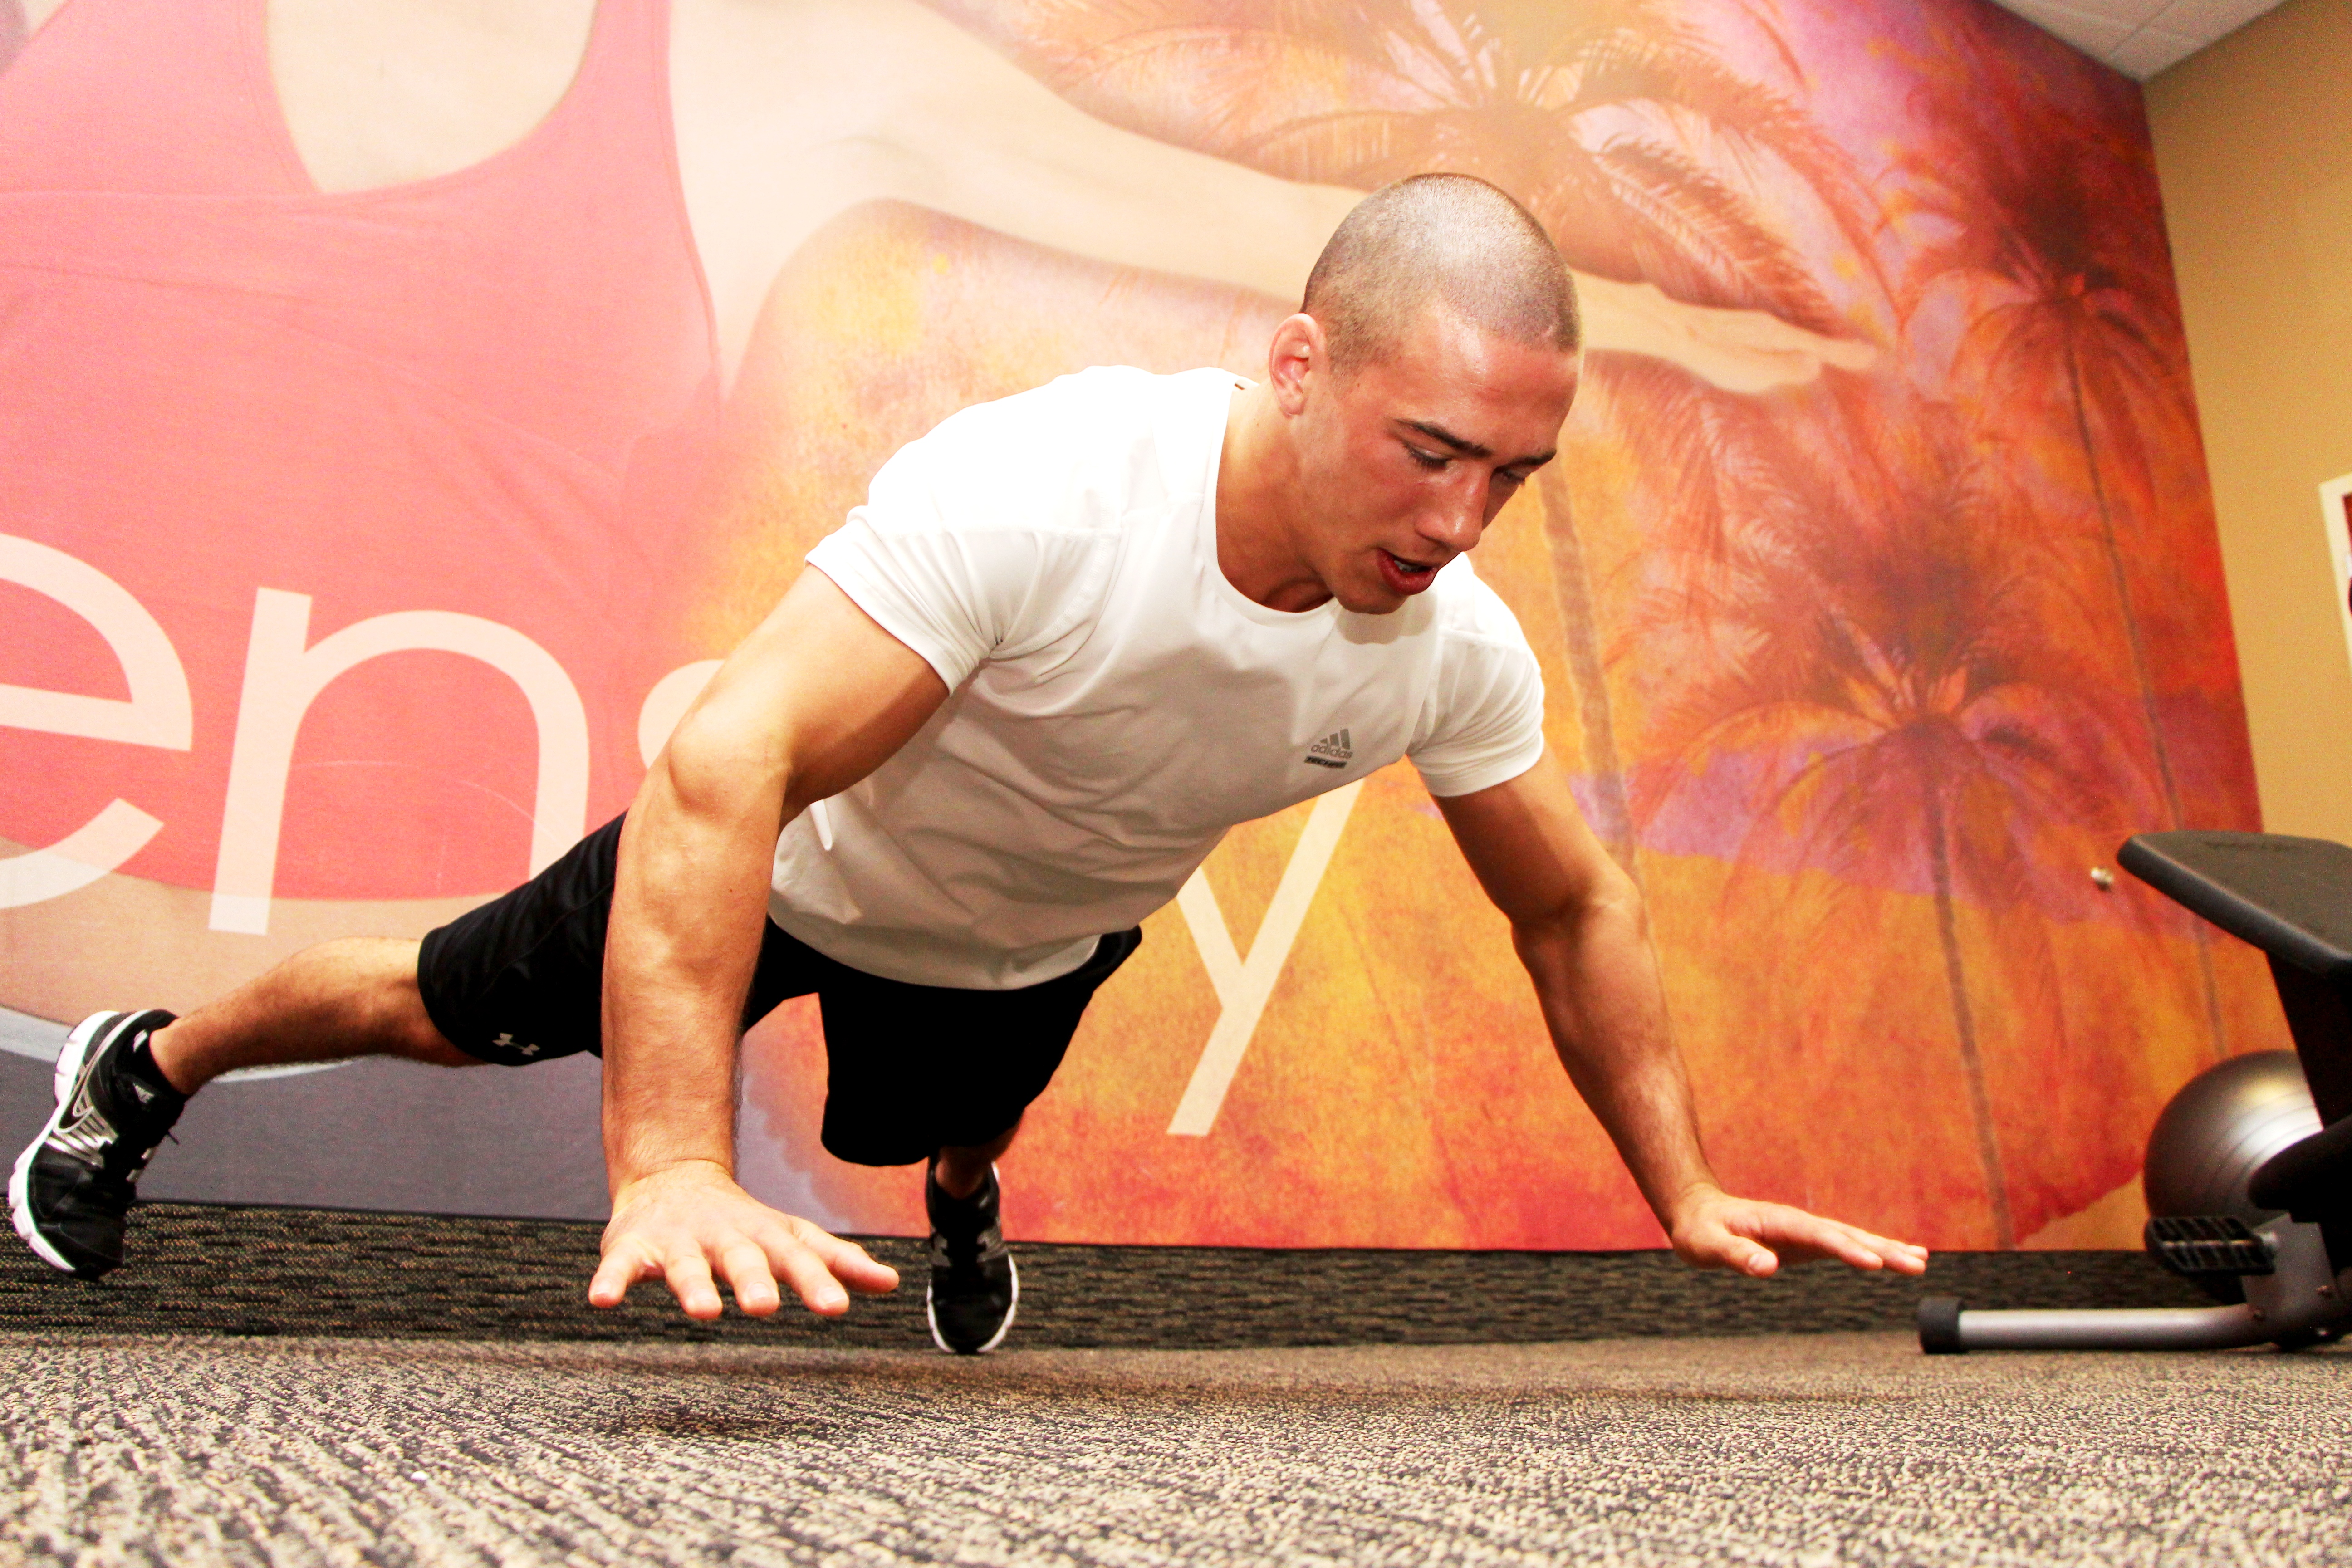
Explosive X Push-ups
- Find an open area where you can safely situate your entire body as you spread out in both a traditional and an “X” push-up position.
- Get into a plank position with your hands slightly wider than shoulder width apart and your legs straight.
- Lower your body in a controlled manner.
- Push your body up with enough force to elevate your torso, arms, hands, legs, and feet beyond the height of a normal push-up and off of the ground while extending your arms and legs outward to form an “X” shape as you prepare to land.
- When coming down catch your body at the top of the “X” push-up position, with your elbows slightly bent, and gradually slow your momentum as you lower your body in a controlled manner.
- From the “X” position, push your body up with enough force to elevate your torso, arms, hands, legs, and feet beyond the height of a normal push-up and off of the ground as you bring your arms and legs back in to land in a normal push-up position.
- Again, as you land catch your body at the top of the push-up position, with your elbows slightly bent, and gradually slow your momentum as you lower your body in a controlled manner.
- Repeat
Extra Tip: It’s important for you to properly control your body’s momentum as you are shifting positions. Be sure you have first mastered the Explosive Push-Ups from Part 2 of Creating a Complete Chest Routine before advancing to this exercise.
Extra tip: Keep your torso flat, in proper form and postural alignment throughout this entire exercise just as you would a normal push-up.
Extra tip: If you feel you are getting too tired to control the exercise simply stop, rest and do another set.
Single Leg, Single Arm Cable Fly
- Find a cable machine and attach a single-armed handle to it.
- Set the pulley to a position, slightly higher than your shoulders.
- Raise the leg opposite the side of your chest you are training, and be sure you have a solid balance on your planted foot.
- Pull the weight in front of you at a slightly downward angle until your hand crosses in front of your chest.
- Reverse your motion and slowly lower the weight back down in a controlled manner.
- Repeat until you feel your muscles fatigue, and then switch sides.
Extra Tip: It’s important to establish a solid foundation of stability and control in order to balance the rest of your body as you perform this exercise, so be sure to progress through the proper levels first.
Extra Tip: If you don’t feel comfortable with this advanced exercise just yet, then practice the cable crossovers from Part 2 of Creating a Complete Chest Routine before advancing to this exercise.
Extra tip: If you feel you are getting too tired to control the exercise simply stop, rest and do another set.
Once you’ve incorporated these advanced exercises into your chest routine for about 4-6 weeks you’ll undoubtedly be anticipating the arrival of swimsuit season to show off your defined upper-body.
Stay tuned for our upcoming article featuring swimsuit season secrets by SUBSCRIBING to LIVING HEALTHY!